| |
| META TOPICPARENT |
name="FRCVLabMaintenance" |
<meta name="robots" content="noindex" />
How to Use Display Disparity on Pioneer3DX |
| |
-
- In terminal, within the directory of the file, mv raw_decimate.launch /opt/ros/indigo/share/image_proc/launch && mv resize.launch /opt/ros/indigo/share/image_proc/launch
|
|
<
< |
-
- In the new terminal, roscd image_proc && roslaunch raw_decimate.launch
|
>
> |
-
- In the new terminal, roscd image_proc && cd launch && roslaunch raw_decimate.launch
|
| |
-
-
- (worse image) for 10 FPS on the robot and 5 FPS on the server, set decimation_x and decimation_y to value="4" for both left_decimator and right_decimator
- (better image) for 3.5 FPS on the robot and 2.6 FPS on the server, set decimation_x and decimation_y to value="2" for both left_decimator and right_decimator
- On the server/robot, in a new terminal, run ROS_NAMESPACE=camera_crop rosrun stereo_image_proc stereo_image_proc _approximate_sync:=True
|
| |
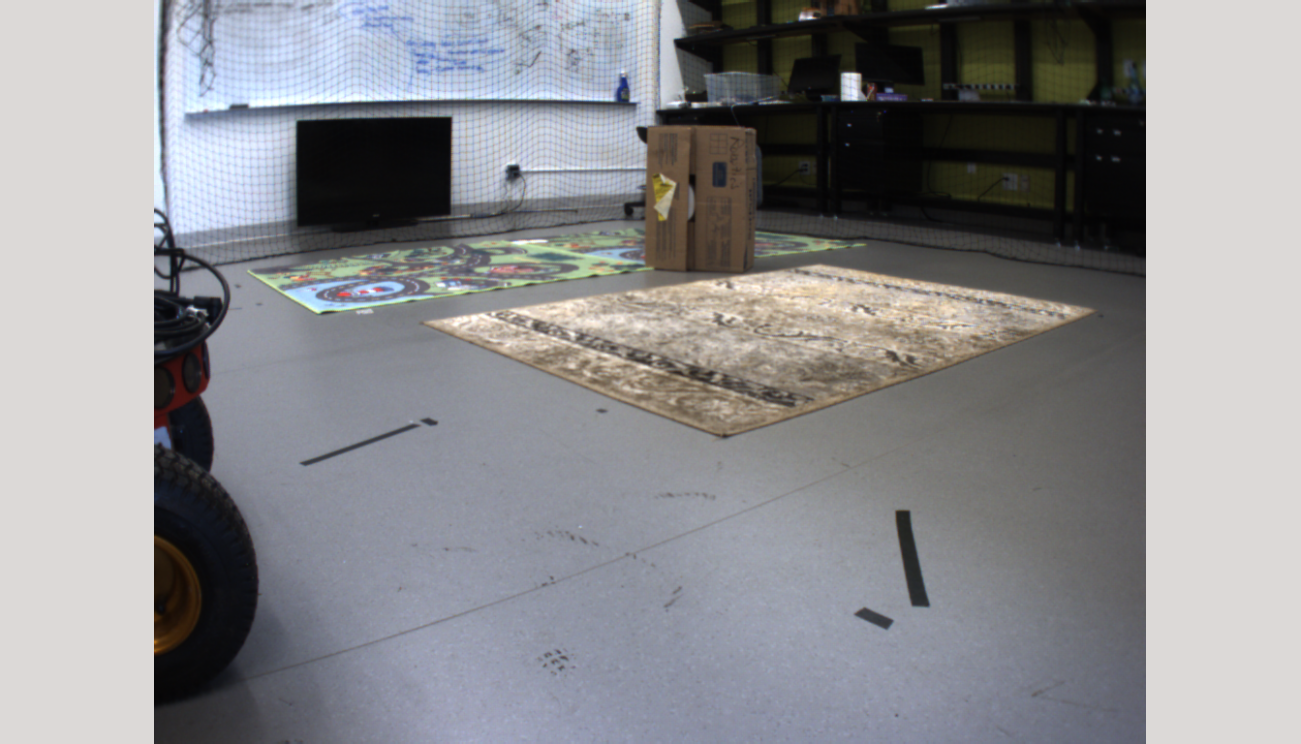
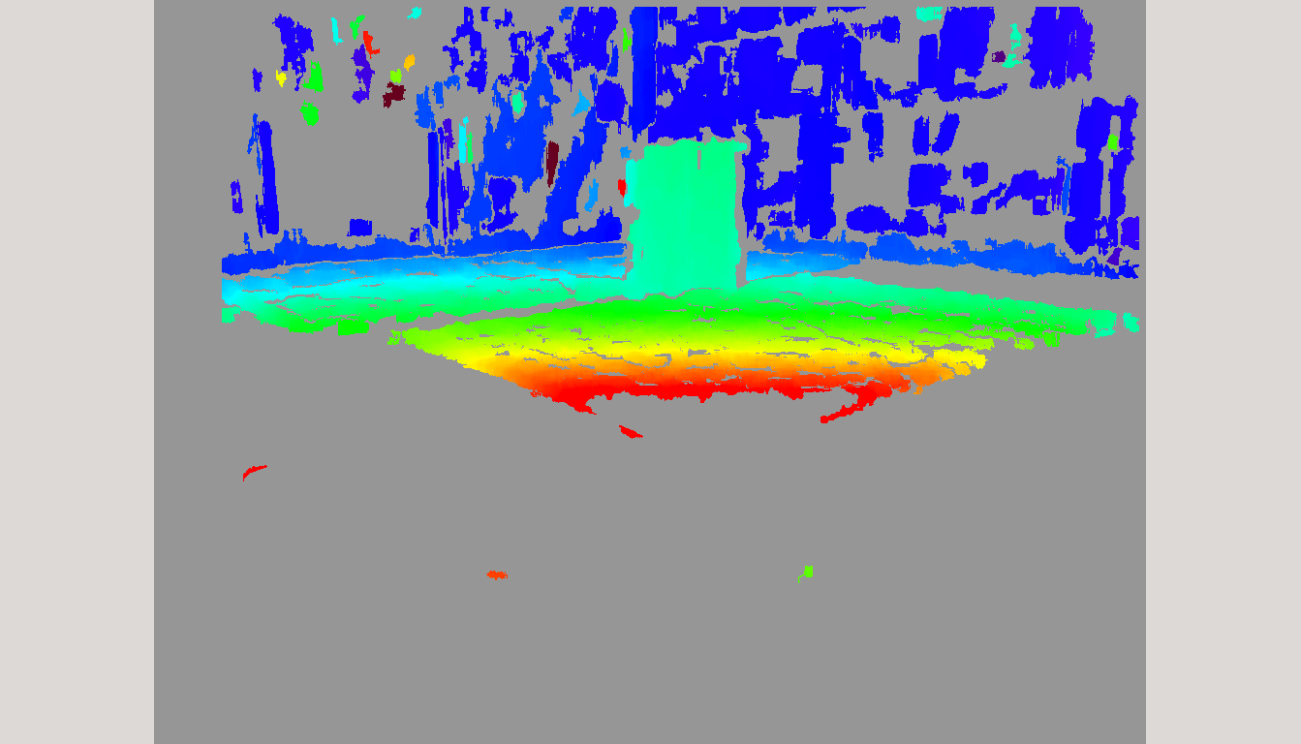
- To view the disparity map alone, use "rosrun image_view disparity_view image:=/camera_crop/disparity"
- To view the depth_map use: "rosrun image_view image_view image:=/depth_raw" (HAS NOT BEEN TESTED)
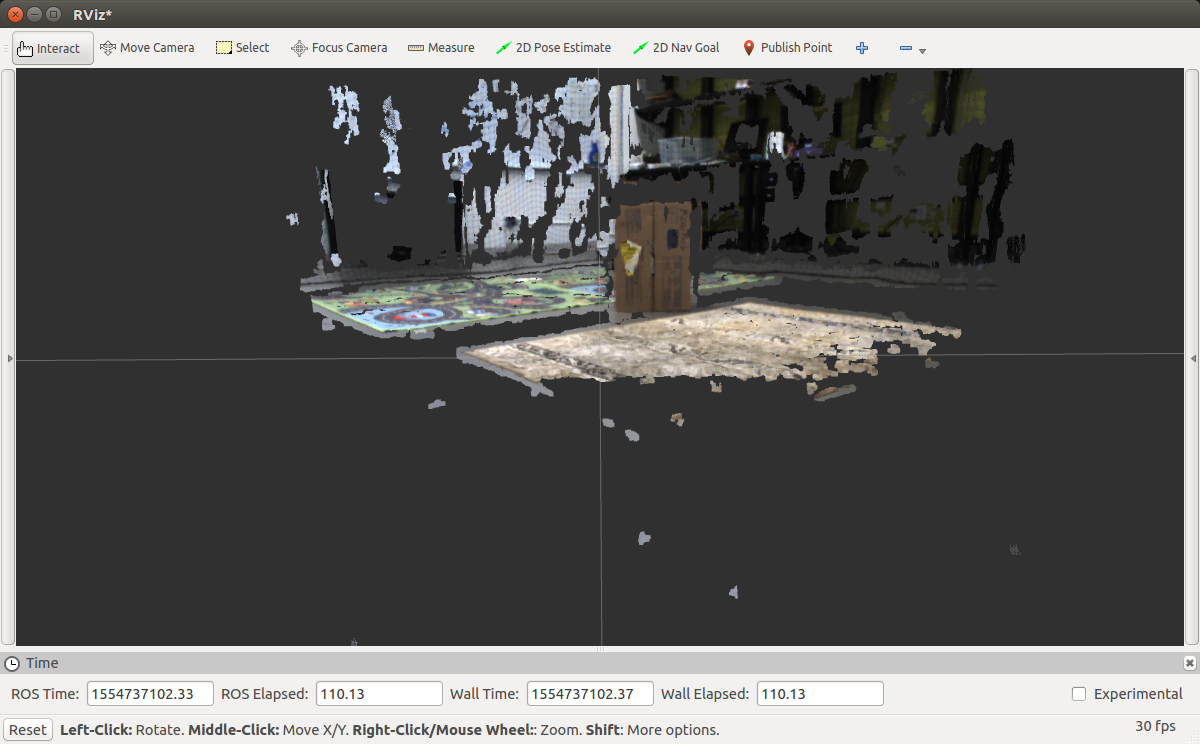
- To view pointcloud, use: "rosrun rviz rviz" AND set the Fixed Frame to stereo_camera
|
|
<
< |  |
>
> |  |
| | |
|
<
< | 
 |
>
> | 
 |
| |
- There's more information at the following links:
|


